Introduction and Background
In recent lectures we discussed using arrays, classes and interfaces (see newly added course notes if you want to read ahead about interfaces – we will cover them this week in lecture). In this lab you will utilize all of these topics to build a simple yet useful new class. Consider the following interface describing the methods for a simple double ended queue (or deque):
public interface SimpleDeque
{
public void addFront(Object X); // Add Object X at front of list
public void addRear(Object X); // Add Object X at rear of list
// If array is full, add methods should do nothing
public Object removeFront(); // Remove and return Object X from
// front of list
public Object removeRear(); // Remove and return Object X from
// rear of list
// If array is empty, remove methods should return null
public boolean isEmpty(); // Return true if the list is empty
// Return false otherwise
}
A queue has the behavior such that items are added at the rear and removed from the front, thereby giving a First In First Out (FIFO) access to the items added and subsequently removed from the list. No other manipulations of the data are permitted (for example, we cannot add or remove anywhere in the middle). Looking at it \"in reverse\", we could add new items at the front of the queue and remove them from the rear. This is still providing FIFO access, but just from a different point of view. Now consider both adding and removing items at the rear of the list (without ever accessing the front). This is called stack access and gives us Last In First Out (LIFO) access to the items (the data is removed in reverse order). The same behavior occurs if we both add and remove at the front without ever accessing the rear of the list.
The simple deque above is expressed as an interface rather than a class, because we are not describing the data or how it is represented -- we are simply describing its access behavior. However, to actually build a working deque, we need a class that implements the interface above. For example:
public class MyDeque implements SimpleDeque
{
Object [] theData;
int numItems;
public MyDeque(int maxItems)
{
theData = new Object[maxItems];
numItems = 0;
}
// Implementation of the five methods of SimpleDeque, plus
// perhaps other methods as well
}
Note that the implementation above uses an array of Object to store the items in the deque. Since Object is the base class to all other Java classes, an array of Object can thus be used to store any Java class types (we can even store primitive values if we utilize their wrapper classes). Also note that nothing in the SimpleDeque interface requires an array to be used to store the data. You will see in your CS 0445 course that a linked list may in fact be a better implementation than an array in this case. However, for this implementation we will use an array because it is simple and easy to understand.
Another important thing to notice about the partial implementation above is that the size of the array used is not equal to the number of items in the deque. The number of items in the deque is maintained in the separate int variable numItems. Since Java array sizes are fixed once the array object is created, to avoid having to recreate new array objects with each add or removal we simply allocate an array that is some reasonable size (specified by the parameter in the constructor) when we create the deque. At that time we also set numItems to zero since there are no actual items in the deque. We then increment numItems with each addition and decrement numItems with each removal. This is the same maintenance technique used in the MovieDB class of Lab 7. As we discussed in lecture, and as you did in Assignment 3, when the array fills we could copy the data into a new, larger array. However, in this case, to keep things simple, we will not resize the array and simply not allow any new items to be added once the array fills.
Adding or removing at the rear of the array is a relatively simple process -- to add we simply put the new object in location numItems and then increment numItems. To remove we store the last item in a temp object, decrement numItems and then return the item. It is probably a good idea to also set the location back to null before returning.
Adding or removing at the front of the array is a bit more complicated. For this simple implementation we will do it in the following way:
addFront -- move objects in locations 0..numItems-1 over one spot to \"the right\" (i.e. into locations 1..numItems), then put the new object into location 0 and increment numItems. For example, given the array below of length 9 with 6 items in it, doing an addFront of 25 will have the effect shown in the three lines below:
0
1
2
3
4
5
6
7
8
50
30
10
40
20
80
50
30
10
40
20
80
25
50
30
10
40
20
80
removeFront -- store the object in location 0 in a temp variable, then move objects in locations 1..numItems-1 over one spot to \"the left\" (i.e. into locations 0..numItems-2). Set location numItems-1 to null, decrement numItems and return the temp object. In effect, you are doing the opposite of what is shown in the addFront above.
Note that the addFront and removeFront methods as described above are not implemented in the most efficient manner. If you take CS 0445 you will likely discuss better ways of implementing these methods. Also note the special cases for inserting into a full list (do nothing in this case) and for removing from an empty list (return null in this case).
Program
Lab9> java Lab9
Stack adds and removes at rear
Marge Ingmar Ingrid Bertha Herb
Queue adds at rear and removes at front
0 1 2 3 4
Queue adds at front and removes at rear
0.0 2.0 4.0 6.0 8.0 10.0 12.0 14.0
Grading and Submission
Demonstrate that your MyDeque class works correctly by running the Lab9.java program for your TA. Be ready to show your code to your TA as well.
There will be 4 raw points for this lab, broken down in the following way.
addFront() method – 1 point
removeFront() method – 1 point
addRear() method – 1 point
removeRear() method – 1 point
Note that your program must work with the provided driver program in order to receive credit for these items. The 4 raw points will be normalized to give this lab equal weight to the other labs in the CS 401 course.
Notes and Hints
Shifting the items in the array to allow the addFront() and removeFront() operations is not hard, but it IS tricky. I recommend tracing it with a pencil and paper before coding it in your class. Be especially careful with the order that you move the items.
Code:
package lab9;
public class MyDeque implements SimpleDeque
{
Object [] theData;
int numItems;
public MyDeque(int maxItems)
{
theData = new Object[maxItems];
numItems = 0;
}
public boolean isEmpty()
{
return (numItems == 0);
}
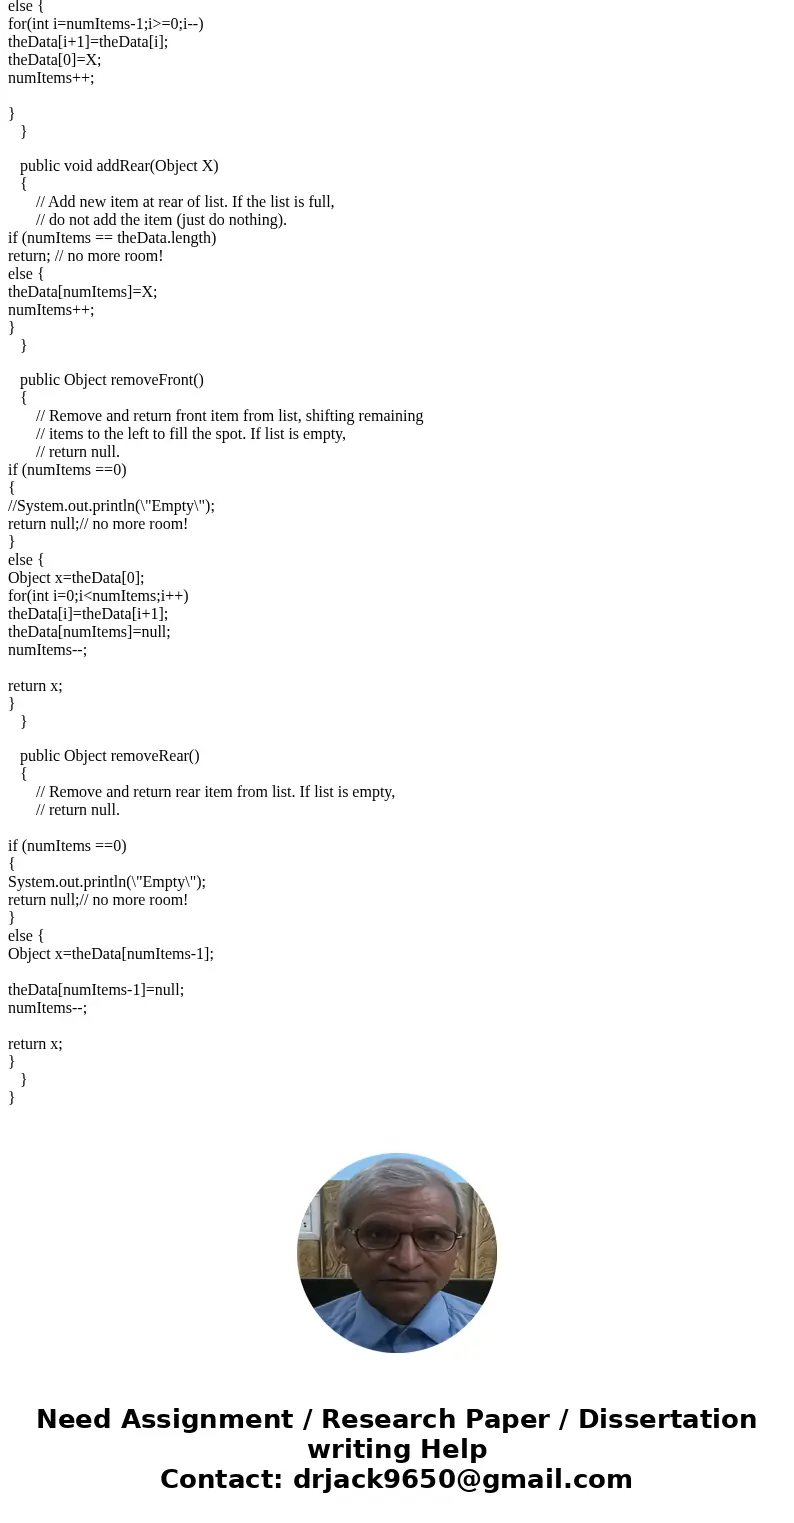
public void addFront(Object X)
{
// Add new item at front of list (shifting old items
// to right first). If the list is full, do not add
// the item (just do nothing).
if (X == null)
throw new IllegalArgumentException(\"item must be non-null\");
System.out.println(numItems);
if (numItems == theData.length)
return; // no more room!
else {
for(int i=numItems-1;i>=0;i--)
theData[i+1]=theData[i];
theData[0]=X;
numItems++;
}
}
public void addRear(Object X)
{
// Add new item at rear of list. If the list is full,
// do not add the item (just do nothing).
if (numItems == theData.length)
return; // no more room!
else {
theData[numItems]=X;
numItems++;
}
}
public Object removeFront()
{
// Remove and return front item from list, shifting remaining
// items to the left to fill the spot. If list is empty,
// return null.
if (numItems ==0)
{
//System.out.println(\"Empty\");
return null;// no more room!
}
else {
Object x=theData[0];
for(int i=0;i<numItems;i++)
theData[i]=theData[i+1];
theData[numItems]=null;
numItems--;
return x;
}
}
public Object removeRear()
{
// Remove and return rear item from list. If list is empty,
// return null.
if (numItems ==0)
{
System.out.println(\"Empty\");
return null;// no more room!
}
else {
Object x=theData[numItems-1];
theData[numItems-1]=null;
numItems--;
return x;
}
}
}


 Homework Sourse